A car you've spent all morning valeting or detailing can look flat in a quick phone photo. To photograph a car valet well, take your before shots before the pre-wash and shoot the before and after from the same corner, about a car length away. Work in shade or under cloud, because bright sun puts glare on the paint. Then crouch a little for the front three-quarter, get close on one wheel, and shoot the interior through the open door.
The checklist to screenshot
Save this and check it on the drive before you start. First, wipe the phone lens on a clean microfibre. A thumbprint on the glass softens every shot.
- Take the before photos before the pre-wash.
- Same corner, a car length away, before and after.
- Shoot in shade or under cloud.
- Crouch a little for the front three-quarter.
- Get one close-up: a wheel, a badge or a seat seam.
- Shoot the interior through the open door, from outside.
1. When should you take the before photos? Before the pre-wash
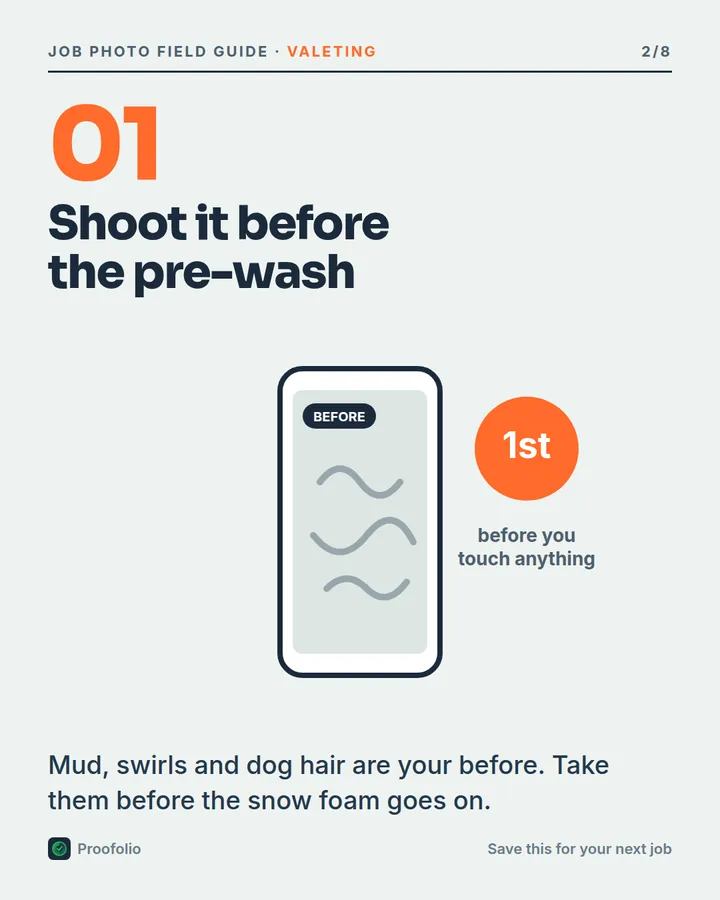
Mud, swirls, bird lime and dog hair are your before. Once the snow foam goes on, they start to go, and you can't get them back. Take one photo of the whole car, then one or two close shots of the worst bits, such as a filthy wheel or a footwell full of sand.
The customer remembers what their car looked like. A stranger scrolling past needs the before to see how far you took it.
It's easy to start the rinse and only remember the photo halfway through. Take it as soon as you park up, before the pressure washer comes out of the van.
2. Where should you stand? The same spot, both times
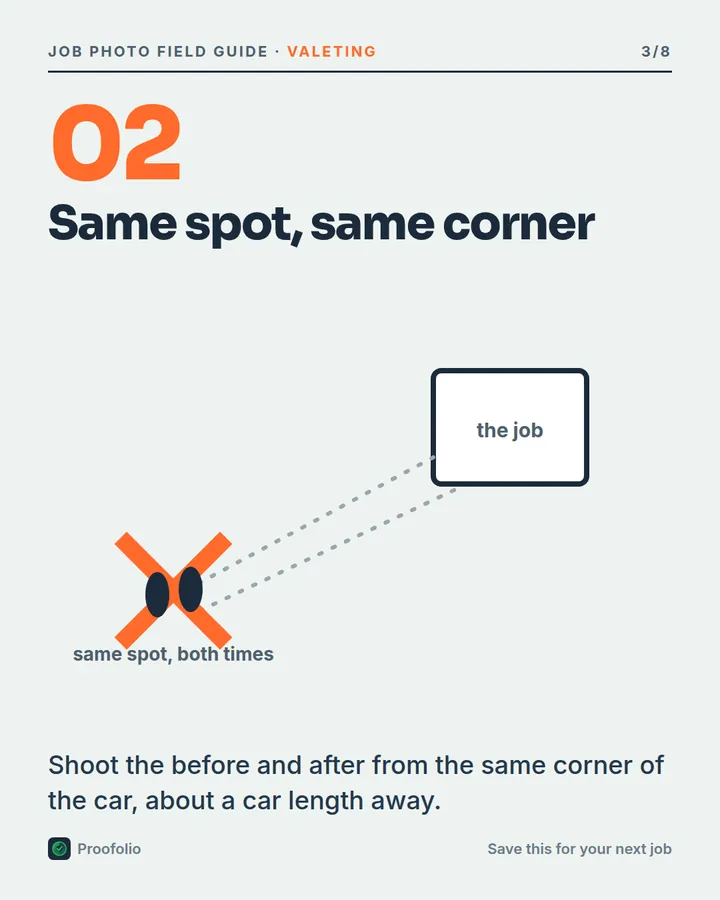
Stand at one corner, about a car length away, for the before, and come back to the same spot for the after. Use a mark you'll find again, like a drain cover.
A matching pair can be compared side by side. Our guide to before and after car detailing photos goes further on matching pairs, and on getting the owner's yes before you post.
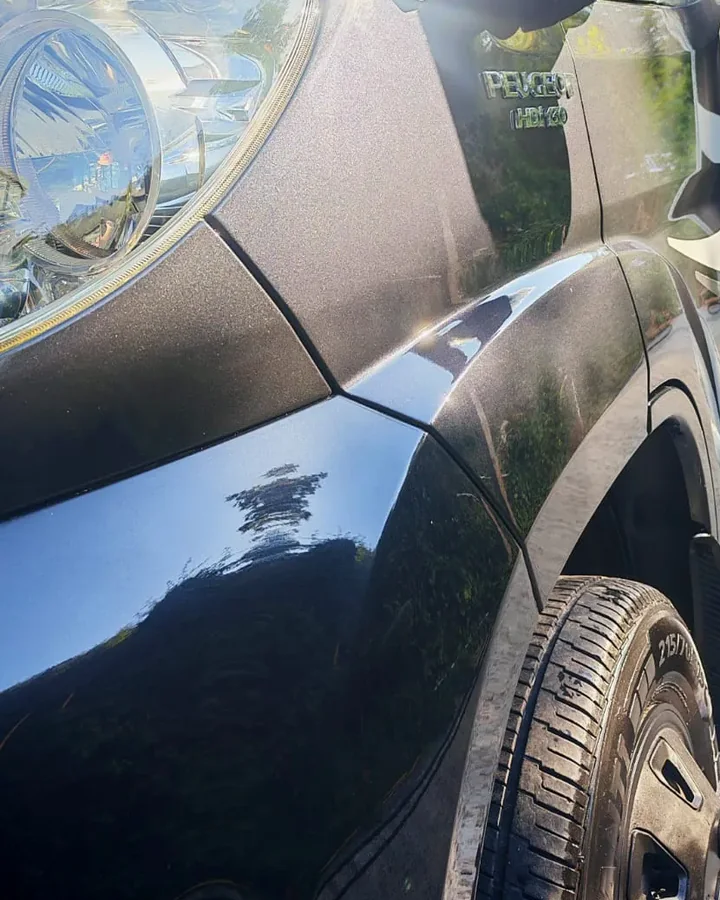
3. What light is best? Shade or cloud
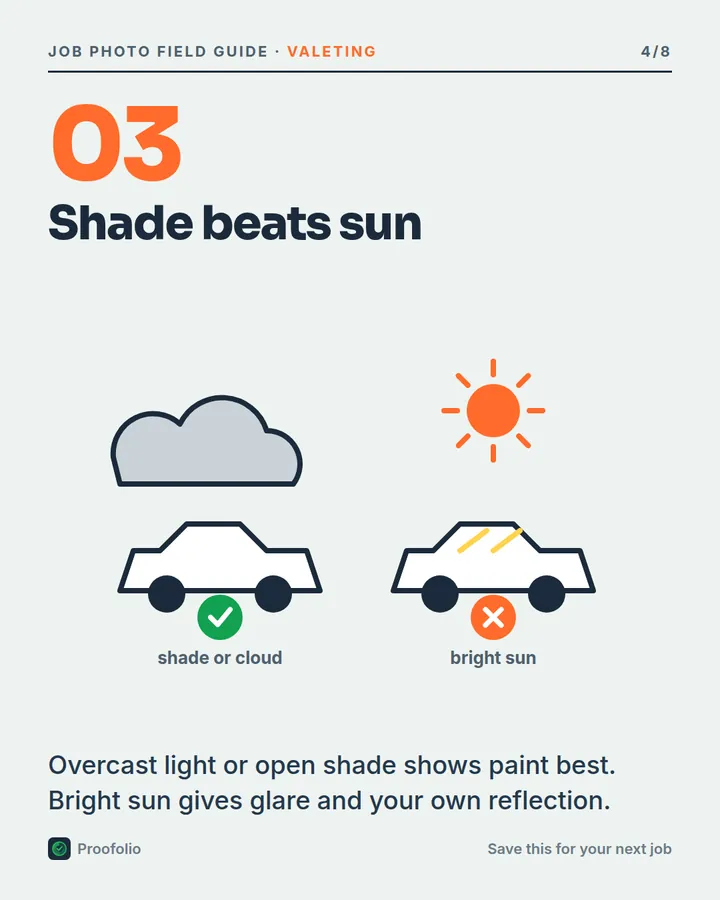
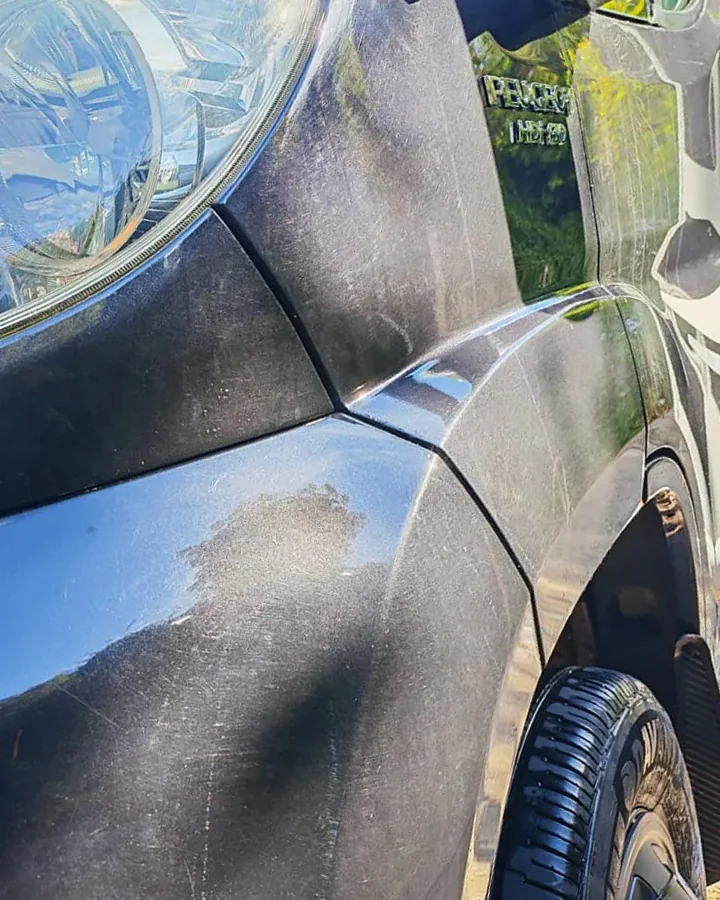
Bright sun puts white glare across the bonnet and roof, and your own reflection shows up in the doors. Overcast light or open shade shows the colour and gloss of the paint more evenly.
If the drive is in full sun, ask the owner if you can move the car into shade, and use the same light for the before and the after. If you can't get out of the sun, move round until it lights the car from the side.
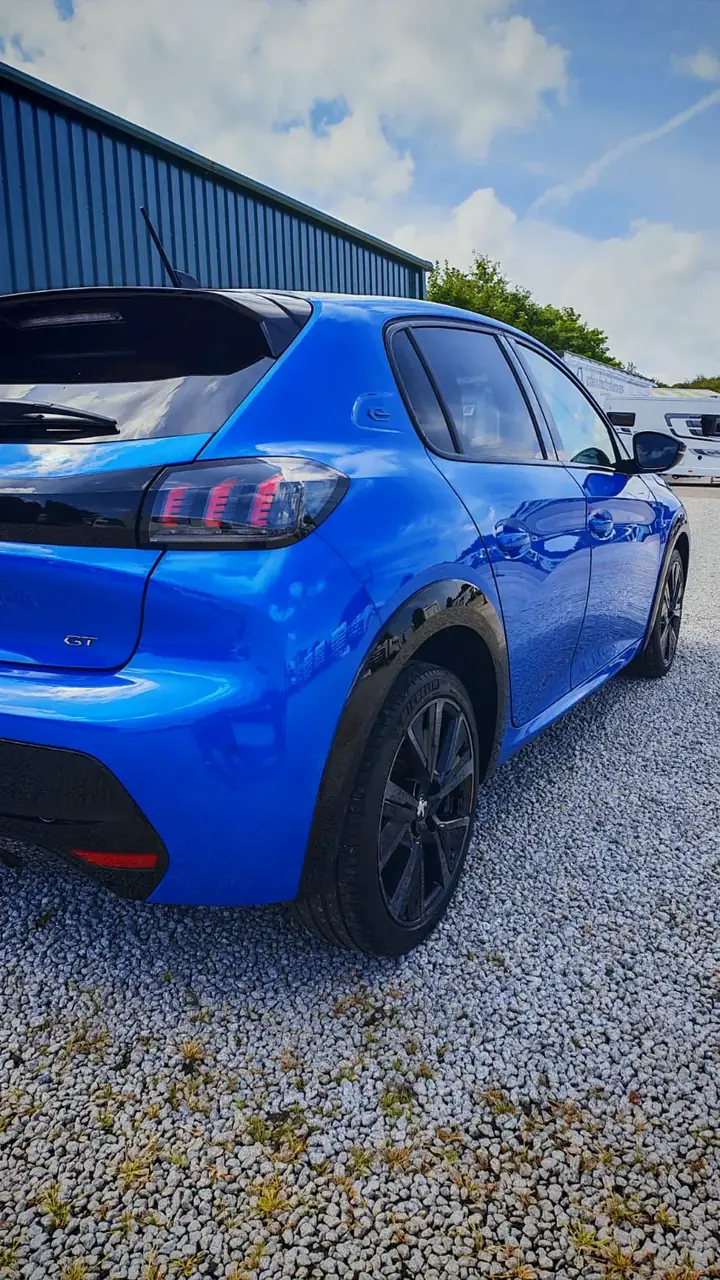
4. What angle shows a car best? Low, from the front corner
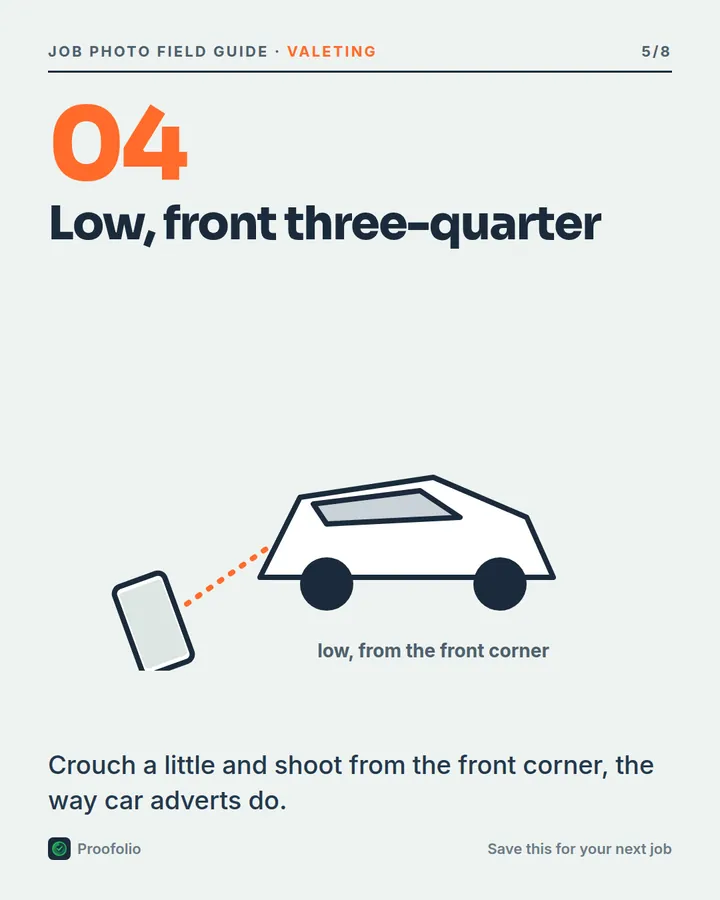
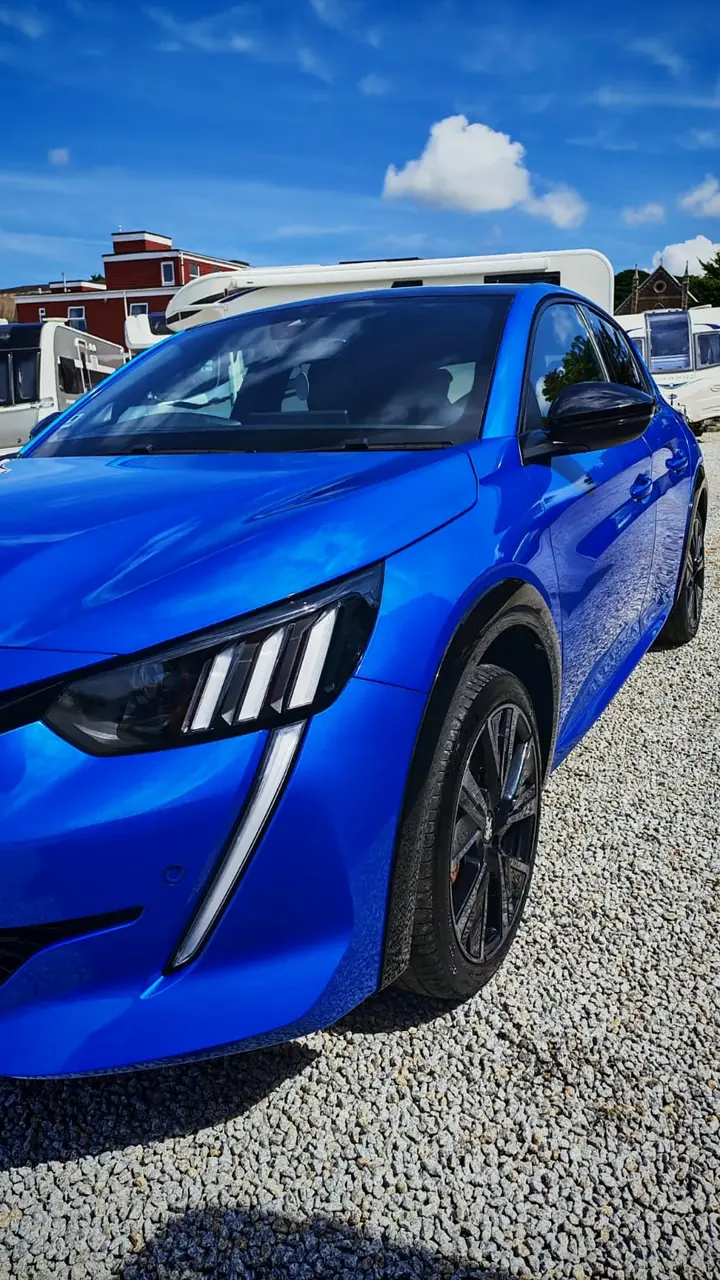
Stand off the front corner so you can see the front and one side at once. Crouch until the phone is at about headlight height. Car adverts use this angle because it gets the shape of the car, the paint down one side and a front wheel into one frame.
From standing height you look down on the bonnet and roof, which flattens the car and fills the shot with reflected sky.
A common mistake is walking closer to fit the whole car in on the wide lens. Close up, a wide lens stretches the front of the car. Step back instead, or switch to the 2x lens if your phone has one.
5. Which close-ups prove the work? A wheel, a badge or a seat seam
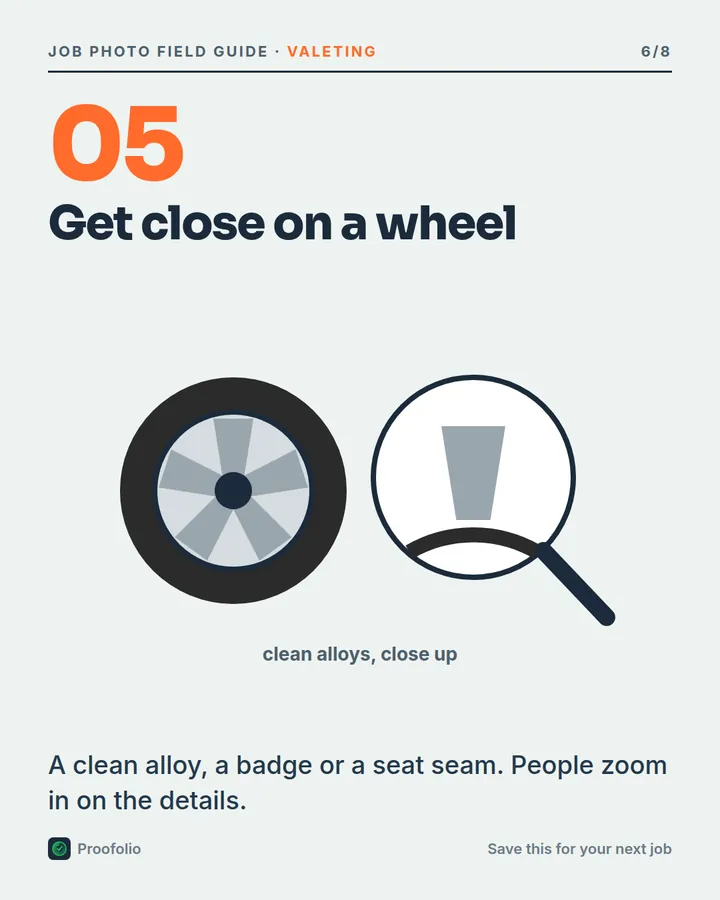
Pick one detail that shows the work and fill the frame with it. Say an alloy with the brake dust gone from between the spokes, or a badge with no polish left round the edges. Tap the screen on the detail so the phone focuses there.
A close-up shows the detail a whole-car photo is too far away to catch.
Wheels deep in the shadow of the arch come out dark, so shoot the one on the side of the car facing the open sky.
6. How do you photograph the interior? Through the open door, from outside
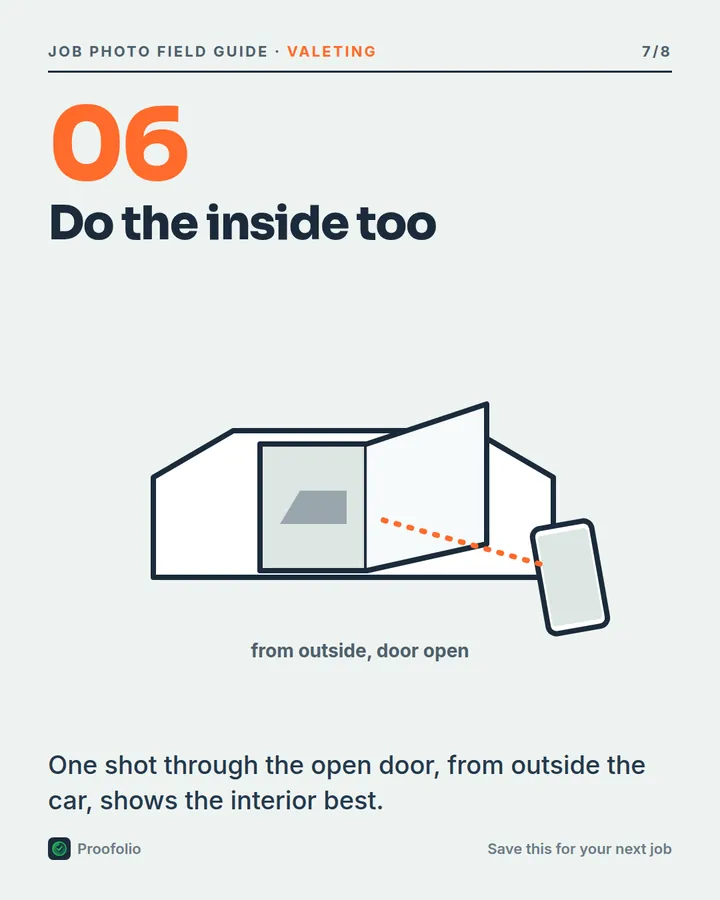
Open the driver's or passenger door and shoot from outside, looking in. You get the seat, the door card and the footwell in one frame, and daylight through the doorway lights the cabin. Shoot the before and the after from the same spot, with the door open the same amount.
For the after shot, put the mats back and move your cloths and bottles out of the frame.
All six tips in one table
| Do this | Why it helps |
|---|---|
| Shoot before the pre-wash | The dirt goes once the foam is on |
| Same corner, a car length away | The two photos line up, so the change shows |
| Shade or cloud | No glare on the paint and no reflection of you |
| Crouch at the front corner | Shows the shape, one side and a wheel in one frame |
| One close-up | Proves the detail work people zoom in on |
| Interior through the open door | Shows the cabin as the customer sees it |
Got the photos? Send them to Proofolio on WhatsApp
Proofolio (proofolio.pro) takes up to 4 photos in each set you send on WhatsApp and sends back branded cards, captions written for you, a short video made from your photos and the job on your own portfolio page. There is no app and no login, and it's usually back in a couple of minutes. You look it over and decide what gets posted. You get 9 free sets across up to 3 jobs (a set is one batch of up to 4 photos and everything made from it).
Pick your best four, such as the whole-car before and after, one close-up and the interior.
To see what comes back, read how Proofolio works, or send your next job's photos to Proofolio on WhatsApp. Pricing the work is covered in how much to charge for car detailing in the UK, and where to post in car detailing social media marketing.
Know a valeter who'd use these tips? Send this guide to a valeter you know.
Common Questions
What's the best light for car valet photos?
Open shade or an overcast day. Bright sun puts glare on the paint and your own reflection in the panels.
What's the best angle for car detailing photos?
The front three-quarter: stand off the front corner and crouch until the phone is at about headlight height. It shows the front, one side and a wheel in one shot.
Should I take before photos of the interior?
Yes, if you're cleaning it. Shoot through the open door from outside the car before you start, then again from the same spot when you've finished.
When should I take the before photo?
As soon as you park up, before the pre-wash or snow foam. Once the car is wet, the dirt you're about to remove has started to go.
How many photos should I take per job?
Take as many as you like, then choose. Proofolio takes up to 4 photos in each set you send, so a good first set is the whole-car before, the whole-car after, one close-up and the interior.
Part of our guide: Car Detailing Social Media Marketing: A No-Fluff Guide
Want your own photos turned into marketing like this?
Try Proofolio Free on WhatsAppScan with your phone to start on WhatsApp